How to Decorate a Motorcycle Cake
How to decorate motorcycle cake – How to decorate a motorcycle cake sets the stage for this enthralling narrative, offering readers a glimpse into a story that is rich in detail and brimming with originality from the outset. This guide will equip you with the knowledge and techniques to transform a simple cake into a stunning motorcycle masterpiece, capturing the essence of speed, power, and style.
Whether you’re a seasoned baker or a novice, this guide will walk you through each step, from choosing the right cake to adding the finishing touches.
From selecting the perfect cake type to sculpting the intricate details, we’ll explore a range of techniques and provide expert tips to help you achieve a truly impressive result. Get ready to unleash your creativity and turn your baking dreams into a reality, one delicious layer at a time.
Creating the Motorcycle Body

The motorcycle body is the core element of your cake, so it’s crucial to get it right. We’ll explore how to sculpt the frame, seat, and handlebars using fondant or modeling chocolate. We’ll also discuss techniques for achieving a smooth and polished finish.
Sculpting the Motorcycle Frame
Start by creating a basic frame shape using fondant or modeling chocolate. This can be done by rolling out the fondant or chocolate into a long, thin strip and shaping it into a rectangle. This will form the backbone of your motorcycle.
You can then add additional strips of fondant or chocolate to create the front forks, handlebars, and other details.
- Roll out a piece of fondant or modeling chocolate to about 1/4 inch thick. Use a ruler to ensure consistent thickness. This will create a smooth and even surface for your motorcycle frame.
- Using a sharp knife or fondant cutter, cut out a rectangle shape from the fondant or chocolate. The size of the rectangle will depend on the size of your motorcycle cake. For a small cake, a rectangle of 4 inches by 6 inches will be sufficient. For a larger cake, you may need to use a larger rectangle.
- Use a rolling pin or your fingers to gently curve the long sides of the rectangle inward, creating a slightly rounded shape. This will help to give your motorcycle frame a more realistic look.
- Use a small amount of edible glue or water to attach the curved rectangle to a cake board or a piece of cardboard. This will provide a stable base for your motorcycle frame.
- Now, using additional strips of fondant or chocolate, you can start to add details to your motorcycle frame. For example, you can create the front forks by rolling out two thin strips of fondant or chocolate and attaching them to the front of the frame. Use a small amount of edible glue or water to secure the strips. You can also create the handlebars by rolling out a thin strip of fondant or chocolate and bending it into a U-shape. Attach the handlebars to the top of the frame.
Creating the Motorcycle Seat
The seat is a key feature of the motorcycle. To create the seat, you can use a small piece of fondant or modeling chocolate.
- Roll out a small piece of fondant or modeling chocolate to about 1/4 inch thick. The size of the piece will depend on the size of your motorcycle cake.
- Using a knife or fondant cutter, cut out a rectangular shape from the fondant or chocolate. This will be the base of your motorcycle seat.
- Use a rolling pin or your fingers to gently curve the long sides of the rectangle inward, creating a slightly rounded shape. This will help to give your motorcycle seat a more realistic look.
- Use a small amount of edible glue or water to attach the curved rectangle to the top of the motorcycle frame. Make sure the seat is positioned correctly and securely attached.
Creating the Handlebars
The handlebars are another important detail of the motorcycle. They can be created using fondant or modeling chocolate.
- Roll out a thin strip of fondant or modeling chocolate. The thickness of the strip will depend on the size of your motorcycle cake.
- Using a knife or fondant cutter, cut out a long strip of fondant or chocolate. The length of the strip will depend on the size of your motorcycle cake.
- Use a rolling pin or your fingers to gently curve the strip of fondant or chocolate into a U-shape. This will create the handlebars for your motorcycle.
- Use a small amount of edible glue or water to attach the handlebars to the top of the motorcycle frame. Make sure the handlebars are positioned correctly and securely attached.
Achieving a Smooth and Polished Finish, How to decorate motorcycle cake
To create a smooth and polished finish on your motorcycle body, you can use a few techniques.
- Once the motorcycle frame, seat, and handlebars are in place, use a smooth fondant smoother or a small, flat spatula to smooth out any imperfections in the fondant or modeling chocolate.
- For a truly polished look, you can use a small amount of edible luster dust or food coloring diluted with a little bit of vodka to create a glossy finish. Apply the luster dust or food coloring with a small brush or a cotton swab.
Final Conclusion

With this guide, you’ll be well-equipped to tackle any motorcycle cake challenge. Remember, practice makes perfect, so don’t be afraid to experiment and let your creativity soar. As you craft your masterpiece, envision the joy and admiration it will evoke, transforming your cake into a cherished memory for all who witness its beauty.
FAQ Explained: How To Decorate Motorcycle Cake
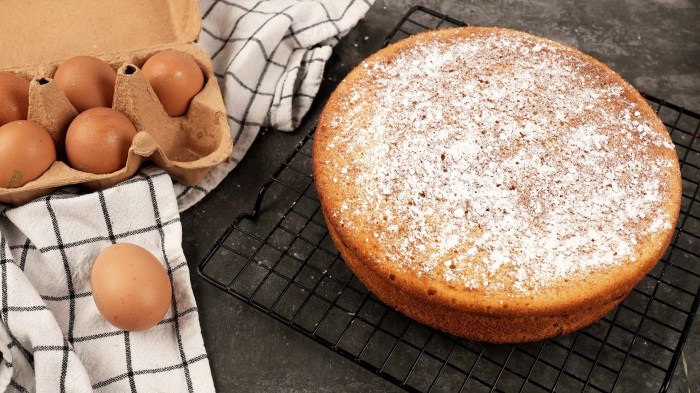
What kind of cake is best for a motorcycle cake?
A sturdy cake like pound cake or a dense chocolate cake works well for motorcycle cakes, as it can hold its shape and support the decorations.
How do I get a smooth finish on the motorcycle body?
Use a fondant smoother or a clean, flat surface to gently smooth out any imperfections on the fondant or modeling chocolate. You can also use a damp cloth to lightly dampen the surface and smooth it further.
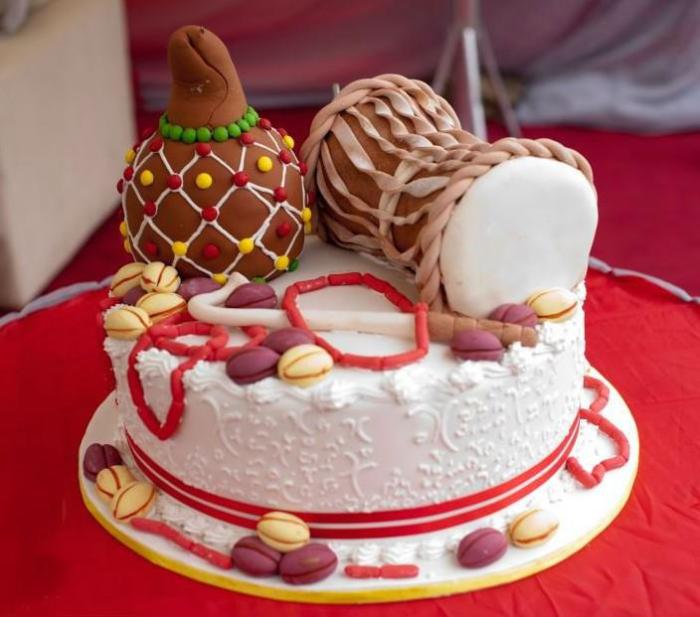
What are some creative ideas for presenting the motorcycle cake?
You can create a mini-scene with a road and a backdrop of a cityscape or a race track. Another option is to use a motorcycle-themed cake stand or a stand decorated with motorcycle-inspired details.